Raw Dessert

Intensely Good Raw Key Lime Pie

Key lime.JPG

I’ve made many of these pies in my years as a Nutritionist, but they have continuously evolved. In the beginning, they contained 1 cup or more of Agave Syrup for sweetener, or Soy Lecithin for thickening, neither of which I can feel comfortable about promoting. So I’ve tried many times to get it right: the flavour balance, the consistency, not too sweet, not to tart.
I am finally satisfied.

Of note for this pie: it MUST set in the fridge overnight or you will be attempting to serve up a gooey pile of mush, which is not ideal. So be sure to make this recipe the night BEFORE you serve, and if you are serving up some coconut whipped cream along side, pop those cans of coconut milk in the fridge too so that you are entirely prepared for the dessert challenge and need only that 10 minutes to whip up your cream!! 😉

Intensely Good Raw Key Lime Pie

Key lime crust.JPG

Makes 1 large 8” round pie or 12 individual, muffin sized tarts
Ingredients:
For the Crust:
3/4 cup packed, pitted medjool dates (note, if your dates are dry, soak them in boiling water for 5-10 minutes)
1/2 cup almonds
1/2 cup pecans
1/2 cup shredded, unsweetened coconut
1 tsp vanilla
1/4 tsp salt
1/2 cup oats
For the Filling:
1/2 cup cashews, soaked overnight & rinsed
2 ripe avocados
2/3 cup freshly squeezed lime juice
1/2 cup coconut cream
2/3 cup maple syrup
2/3 cup coconut oil, melted
1/4 tsp salt
Instructions:

  • For the crust, blend all ingredients in your food processor until a coarse meal is formed. Mix should stick together. Press evenly into a greased pie plate with wet hands, bringing the crust mix up the sides. Place crust in the fridge while you make the filling.

  • For the filling, combine all ingredients in your food processor until smooth (this may take several minutes), scraping the sides a few times. Pour filling over your crust and set pie in the fridge or freezer overnight. If serving from the freezer, allow pie to defrost roughly 20minutes before serving.
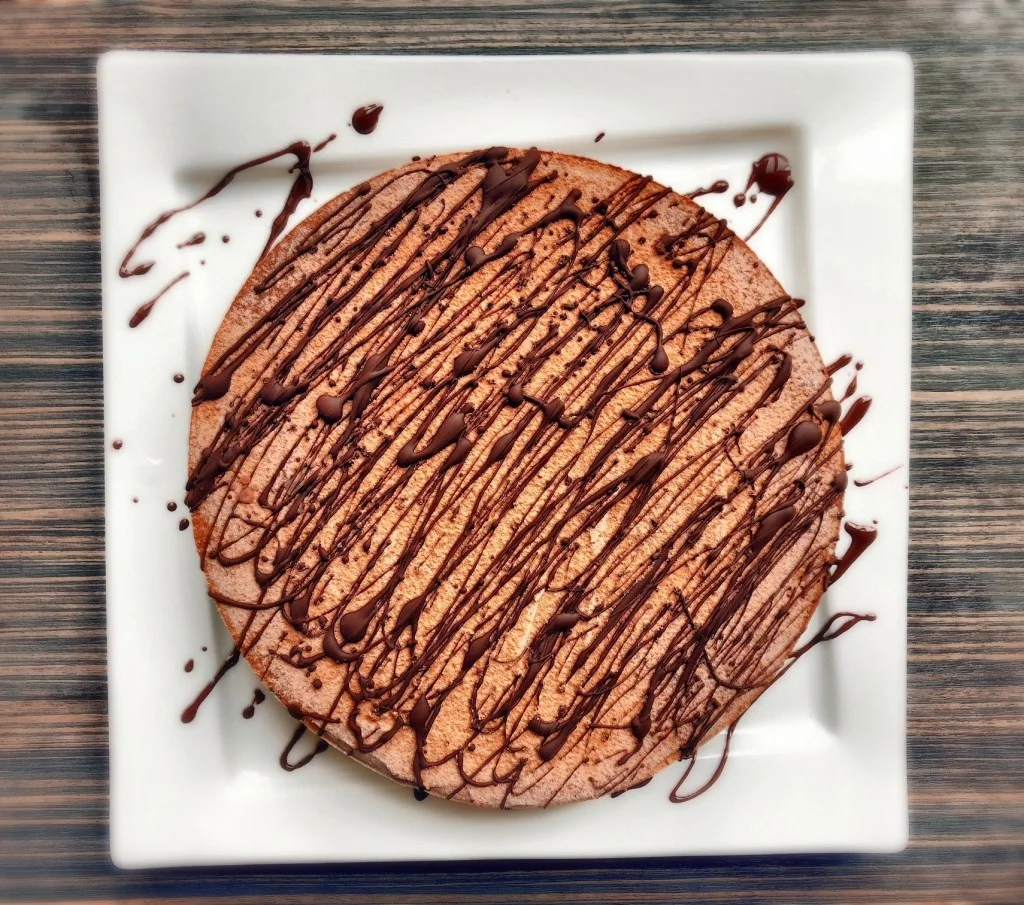
    Serve pie with coconut whipped cream and fresh raspberries, if you have them 😋

Layered Lemon Chocolate Cheesecake

Layered-cake-side-.jpg

Creamy Coconut Lemon Filling meets Avocado Chocolate Mousse.
Oh.
Yes.

This cake not only looks spectacular, inciting noises of mmm’s and ahh’s, it is also quite easy to whip up. It’s not overly sweet, which I love, the decadence takes care of providing so much flavour and nutrient density, that extra sweetness is just unnecessary. As with all raw cheesecakes, you do need a little fore thought, as these decadent desserts need to set overnight in the freezer. I will usually make a layered style cake like this on a day when I’m puttering around the house or am doing some batch cooking or prep. It’s best to let each layer harden before adding the next, so don’t rush this process.
Do feel free to make this style of cheesecake your own, depending on what you have on hand or what’s in season. You may feel like adding a cup or so of fresh raspberries or peaches to the middle layer or covering the chocolate mousse with toasted coconut flakes and raw cacao nibs. Note on the chocolate mousse layer, this also makes an incredible icing - you can increase the sweetness a little, if you like, and use it as a chocolate frosting for cupcakes or chocolate cake 😋. Definitely be careful not to leave it unattended on your kitchen counter, as it may gain some finger marks or mysteriously lose volume….
Any which way, I have ultimate confidence in the satisfaction level of this layered beauty.
However you make it, share it, and be sure to savour every bite!

Layered Lemon Chocolate Cheesecake

Prep Time: 35 minutes
Total Time: 35 minutes + 1 hour 20mins for freezing time
Category: Vegan, Dessert, Cheesecake, Decadent
Cuisine: Vegan, Real food, Nutrient-dense, Vegetarian
Yield: 10-12

Layered-chz-cake.jpg

Ingredients

For the Crust:
1/2 cup pecans
1/2 cup almonds
1/2 cup shredded coconut
1 cup medjool dates (or other soft dates), pitted
2 Tbsp raw cacao nibs
1/4 cup cacao powder
Good pinch of salt
A little water if needed (2 Tbsp)

For the Cashew-Lemon Cheesecake:
2 cups soaked cashew pieces (soaked at least 4 hours)
1/4 cup fresh lemon juice
1 cup coconut cream
2 tsp vanilla
1/4 tsp salt
1/3 cup maple syrup/honey

Chocolate Avocado Mousse:
2 ripe avocados
1/2 tsp salt
1/4 cup melted coconut oil
1/2 cup cacao powder
2 tsp vanilla
1/3 cup maple syrup/honey

Instructions

  • For the Crust: Combine all ingredients in your food processor and process until a coarse meal forms (do not over-process or it will lose it's crunchy-goodness appeal). If the mix is quite dry, add a few Tbsps of water until it sticks together. With wet hands, press crust into a lined 8 x 8 springform cake pan. Place cake pan in the freezer for 10 - 20 minutes until set.

  • For the Cheesecake Filling: Combine all ingredients in your food processor and combine until smooth. This may take several minutes. Note: if it looks like the mixture has curdled, just continue processing, it will become creamy with a little patience. Pour over crust and return to the freezer to set for at least 1 hour.

  • For the Chocolate Mousse: Combine all ingredients in your food processor and combine until smooth. Pour over top of the hardened cheesecake and smooth top with a spatula. Return cake to the freezer and allow to set overnight.

  • When it is time to remove the cake from the pan, run a thin knife under very hot water and slide it along the sides of the pan. While still quite frozen, use this warmed knife method to cut the cake into slices. I recommend allowing the cake to soften before serving - rest on the counter for 15-20 minutes.

    *Notes: It is important to remember to soak the cashews overnight the night before. The cake will also need an hour to harden in between adding the cashew layer and topping with the mousse.