It is not surprising to me that we are seeing more and more folks interested in transitioning towards vegan eating. Time and time again, when evaluating diet styles that are making a difference longterm and ones that are simply a temporary trend, the plant-based or vegan style of eating has the best results. When we are looking at decreasing inflammation in the body, reducing blood pressure and clogged arteries, rebalancing fluctuating mood and mental difficulties, augmenting energy and endurance capabilities, reducing risk for disease development, and increasing quality of life with regards to our planet earth and the economy, we are seeing improvement, consistently.
But people need to choose for themselves, find the education that resonates with them and their lifestyle, and take directives that align with their intuitive nature. I feel as though the one thing that I can do over and over in order to help people make decisions that feel right for their health & meet their individual needs, besides offering dependable information and support, is to provide DELICIOUS & NOURISHING RECIPES.
It is my passion and a gift that I am happy to give (plus this is the BEST way to make a convincing argument 😉).
So here is a most nutrient rich stew that can support thriving health on so many levels: lots of protein, antioxidants, plant based fats, loaded with nutrient dense plants of differing colours, variety, and plentiful in micronutrients & minerals, supportive to the immune system, and warming for the soul 💛.
Enjoy this stew as a weeknight staple, feed it to a crowd, or dish it out into mason jars and give it away as a handmade, heart warming gift. Any which way, it is sure to make your mouth smile and your belly happy!
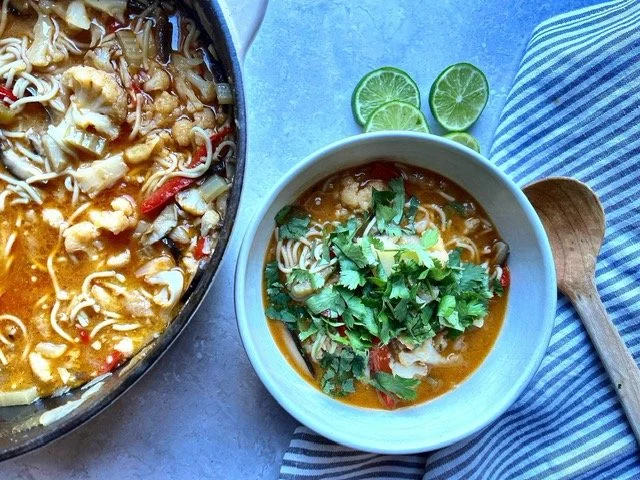
Healing Coconut Curry Stew
Makes 12 - 14 Servings
Ingredients:
1 large onion, diced
3 Tbsp coconut oil
2 tsp salt
2” ginger, minced
4 cloves garlic, minced
1 - 2 red peppers, sliced
2 cups broccoli, chopped
2 cups mushrooms (any kind), sliced thick
1 can chickpeas, drained & rinsed
2 cups purple cabbage, sliced
2 cans coconut milk (full fat)
4 cups vegetables stock
2 Tbsp red curry paste
1 tsp turmeric
1 tsp cumin
2 tsp curry powder
Lots of fresh pepper
I head kale, stemmed and chopped
Juice of 1 lime
1 - 2 Tbsp tamari
1 Tbsp maple syrup
Fresh cilantro for serving
Instructions:
In a large soup pot, melt coconut oil and saute onions over medium heat until translucent. Add salt, ginger, garlic and prepared vegetables and saute further until fragrant and slightly softened. Add curry paste and all other seasonings and stir until well combined. If pot gets a bit dry, add a little of your stock or water and continue to saute a few minutes more.
Pour stock and coconut milk over your veggies and lower temperature to a low-medium and simmer for about 20 minutes. Add kale, lime juice, tamari and maple syrup and simmer another 10 minutes until all vegetables are cooked through. Taste and adjust seasonings as needed. Serve with fresh cilantro, more lime, and/or toasted cashew pieces - yum! 😋
As with all of my recipes, if you make this stew, please comment here or take a lovely pic and share it on social media (be sure to tag me! 😊).
Help me spread the yummy food vibes and support one another in our effort to feel good about what we eat. LONGTERM.